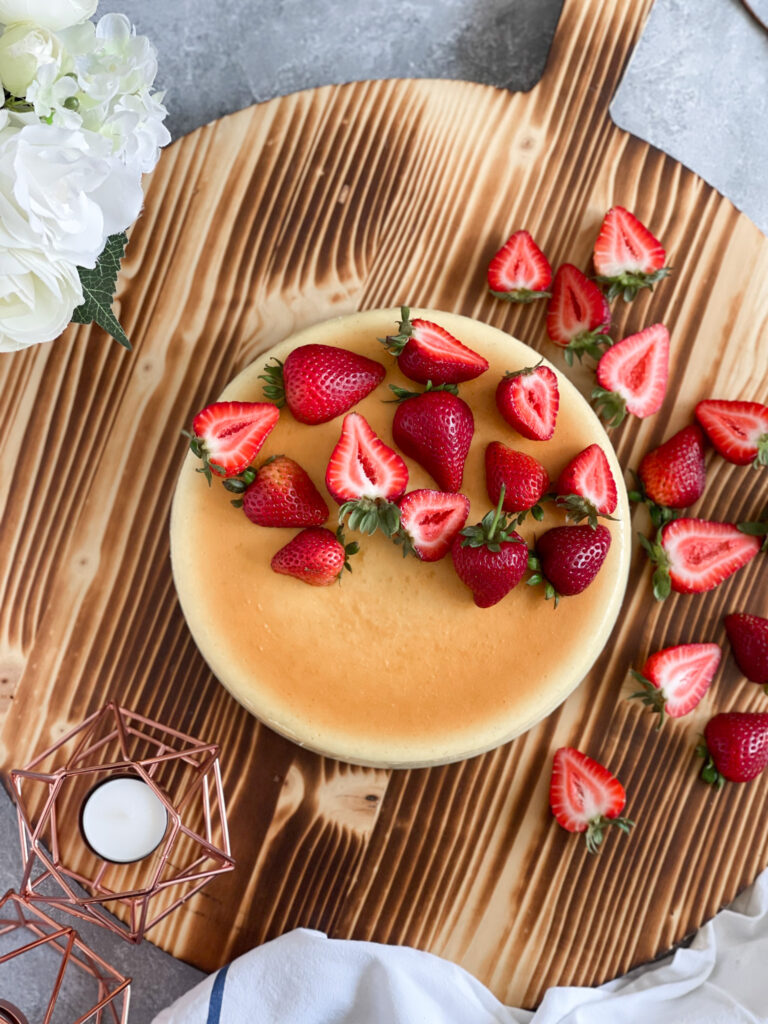
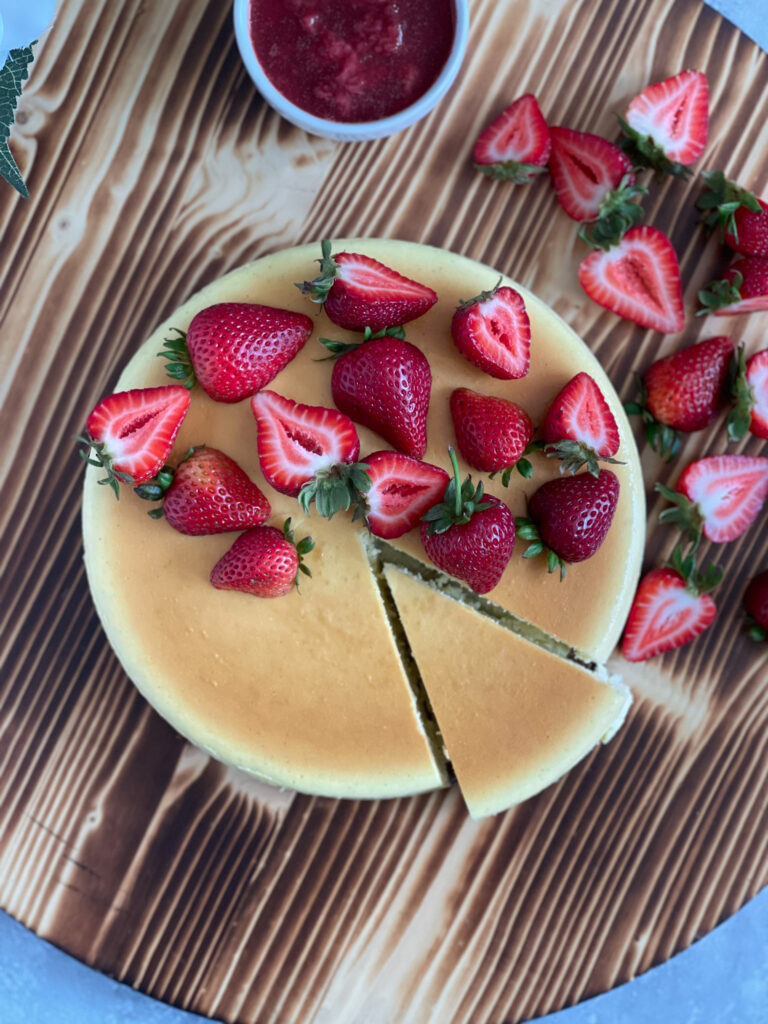
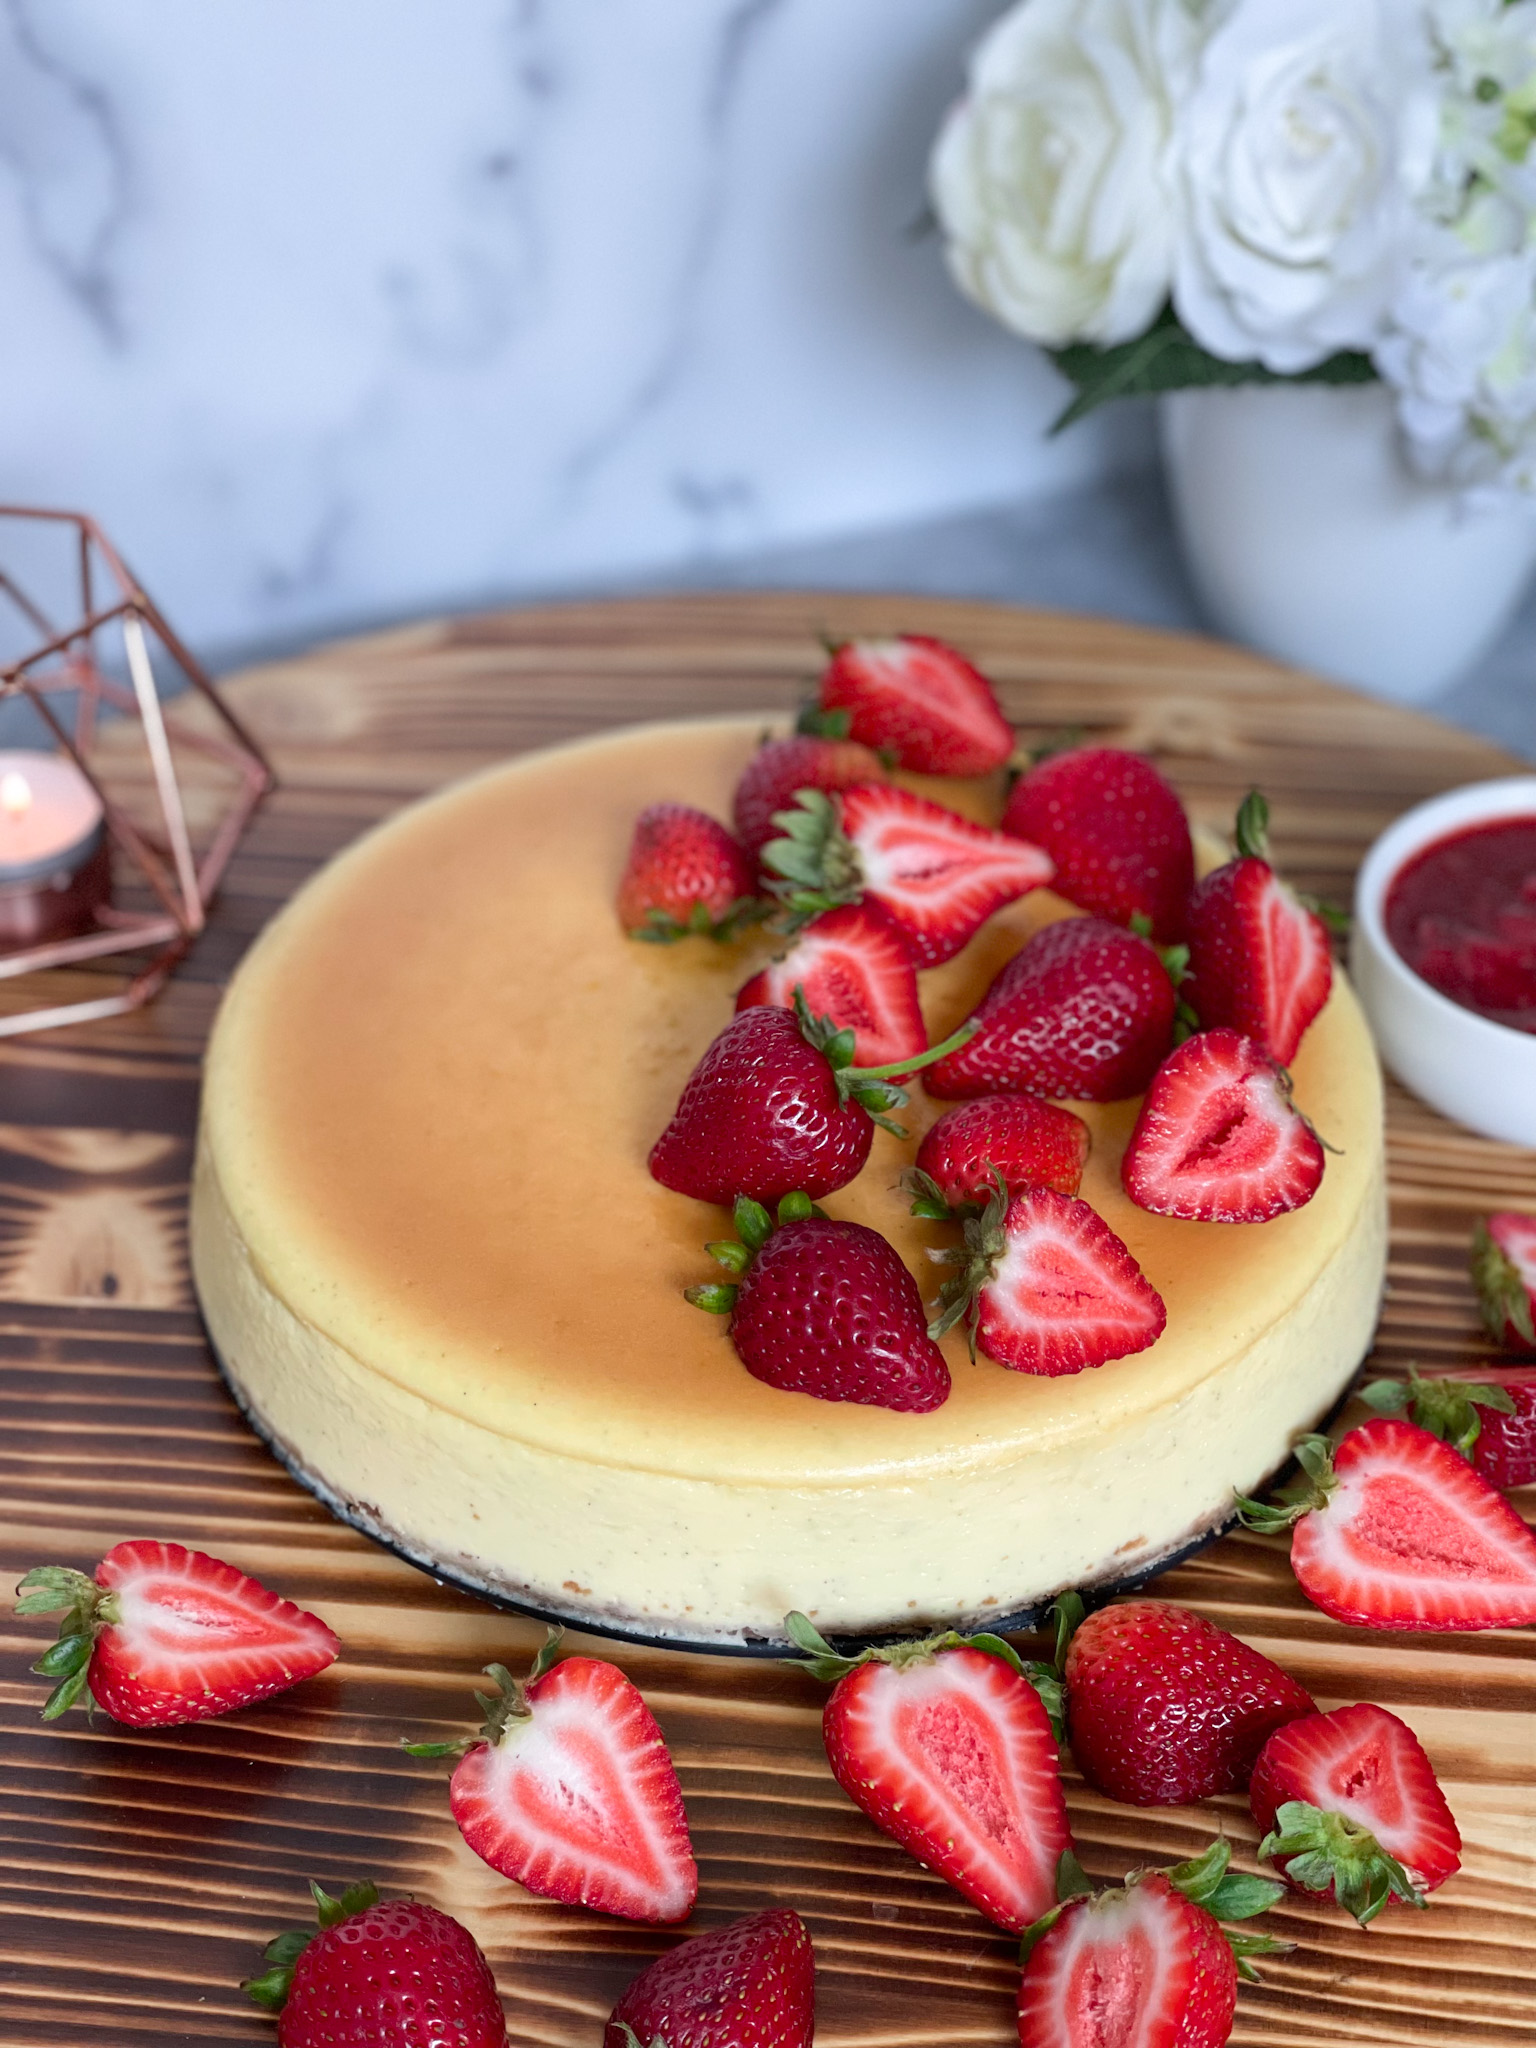
We can never say no to a luscious slice of cheesecake, we are hardcore cheesecake fans. We always order the classic cheesecake if it’s on the menu of any restaurant, food truck, or food event we go to.
This recipe yields a rich, creamy, and not too sweet cheesecake. We tried many cheesecake recipes and adjusted the ingredients to satiate our taste buds. This is a very simple recipe with simple ingredients. Preparing cheesecake is very easy but the process is a little time-consuming and you will need a lot of patience before you devour this decadent dessert.
Making a Cheesecake With or Without a Water Bath
Yes, you can make your cheesecake with or without a water bath. We tried making our cheesecake both ways and learned that it is certainly possible to make cheesecake without a water bath. But it doesn’t come out as delightful and creamy as the one baked with a water bath. Cheesecakes baked without a water bath will come out a little dry with a curdled texture. Moreover, you will get cracks on the surface, sunken center, and lopsided edges. In conclusion, baking the perfect cheesecake requires a water bath.
Is It a Cake or Custard?
Technically, cheesecake is a custard and not a cake. Flour is barely used in making cheesecake, it’s mostly eggs and dairy baked on a graham cracker crust. Therefore, just like any other custard, we must bake it low and slow. The water bath will ensure that the temperature of a batter or custard goes up gradually. As a result, we get a smooth and creamy cheesecake.

Let’s Make Cheesecake
Whenever you are baking, make sure that all the ingredients are at room temperature. Take out your cream cheese, heavy cream, sour cream, and eggs from the refrigerator a few hours before you start preparing. It will be much easier to mix the room temperature cream cheese, and there won’t be any lumps of cream cheese in the batter.
Let’s start by preheating the oven to 325°F. While the oven is preheating, prepare the graham cracker crust. In a food processor, finely crush the graham crackers. Alternatively, you can do this without a food processor. If you want some texture in your base crust, then you can put the crackers in a ziplock bag and crush them roughly with the help of a rolling pin.
Now, in a medium bowl, mix together your crushed graham crackers, brown sugar, kosher salt, and melted unsalted butter. It should resemble the texture of wet sand. Pour this prepared crumb mixture into a 9 inches springform pan and press it firmly and evenly into the bottom. Bake the crust for about 8 to 10 minutes and remove it from the oven. Let the pan rest on a cooling rack and cool completely.
Here, we are using a stand mixer but you can most certainly use a handheld mixer or even a whisk. Cheesecake is a dense dessert, so we don’t need to whisk as much to incorporate air like we do when we’re making cakes. In the bowl of a stand mixer, add softened cream cheese with sugar, and cornstarch. Using the paddle attachment beat these ingredients together until it’s homogenous and smooth. Scrape the sides and bottom of the bowl with a spatula. Split the vanilla bean down its length using a paring knife and scrape out the seeds. Add vanilla bean, heavy cream, sour cream, salt, and stir until well-combined. Keep the mixer on low speed and gradually add the eggs one at a time. Stir the batter until each egg is just incorporated.
Ready to Bake
Now, pour the prepared cheesecake batter into the completely cooled graham cracker crust and tap the pan a few times to get rid of any air bubbles. This trapped air can cause the cheesecake to crack. Wrap the springform pan with aluminum foil. Since we are going to bake this cheesecake in a water bath, wrapping your springform pan will ensure that no water sips through.
Boil the water in a kettle because it’s much easier to pour the boiling water into the pan without spilling. It’s also very important that you use boiling water and not just hot tap water. Regular hot tap water will take some time to heat up. As a result, you will need more baking time and potentially get unevenly baked cheesecake. Place your springform into a deep roasting pan and pour the boiling water into the roasting pan to come up to 1 inch of the springform pan.
Transfer the roasting pan onto the center rack of your oven and bake at 325°F for 1 and a half hours until set but slightly jiggly. Once done, open the oven door and let your cheesecake sit in the water bath in the oven for at least 1 hour. Cheesecake is a sensitive custard, you do not want to shock the cheesecake with a sudden temperature change. Remove your cheesecake from the oven and out of the water bath. Let it cool on a wire rack for about 40 to 45 minutes.

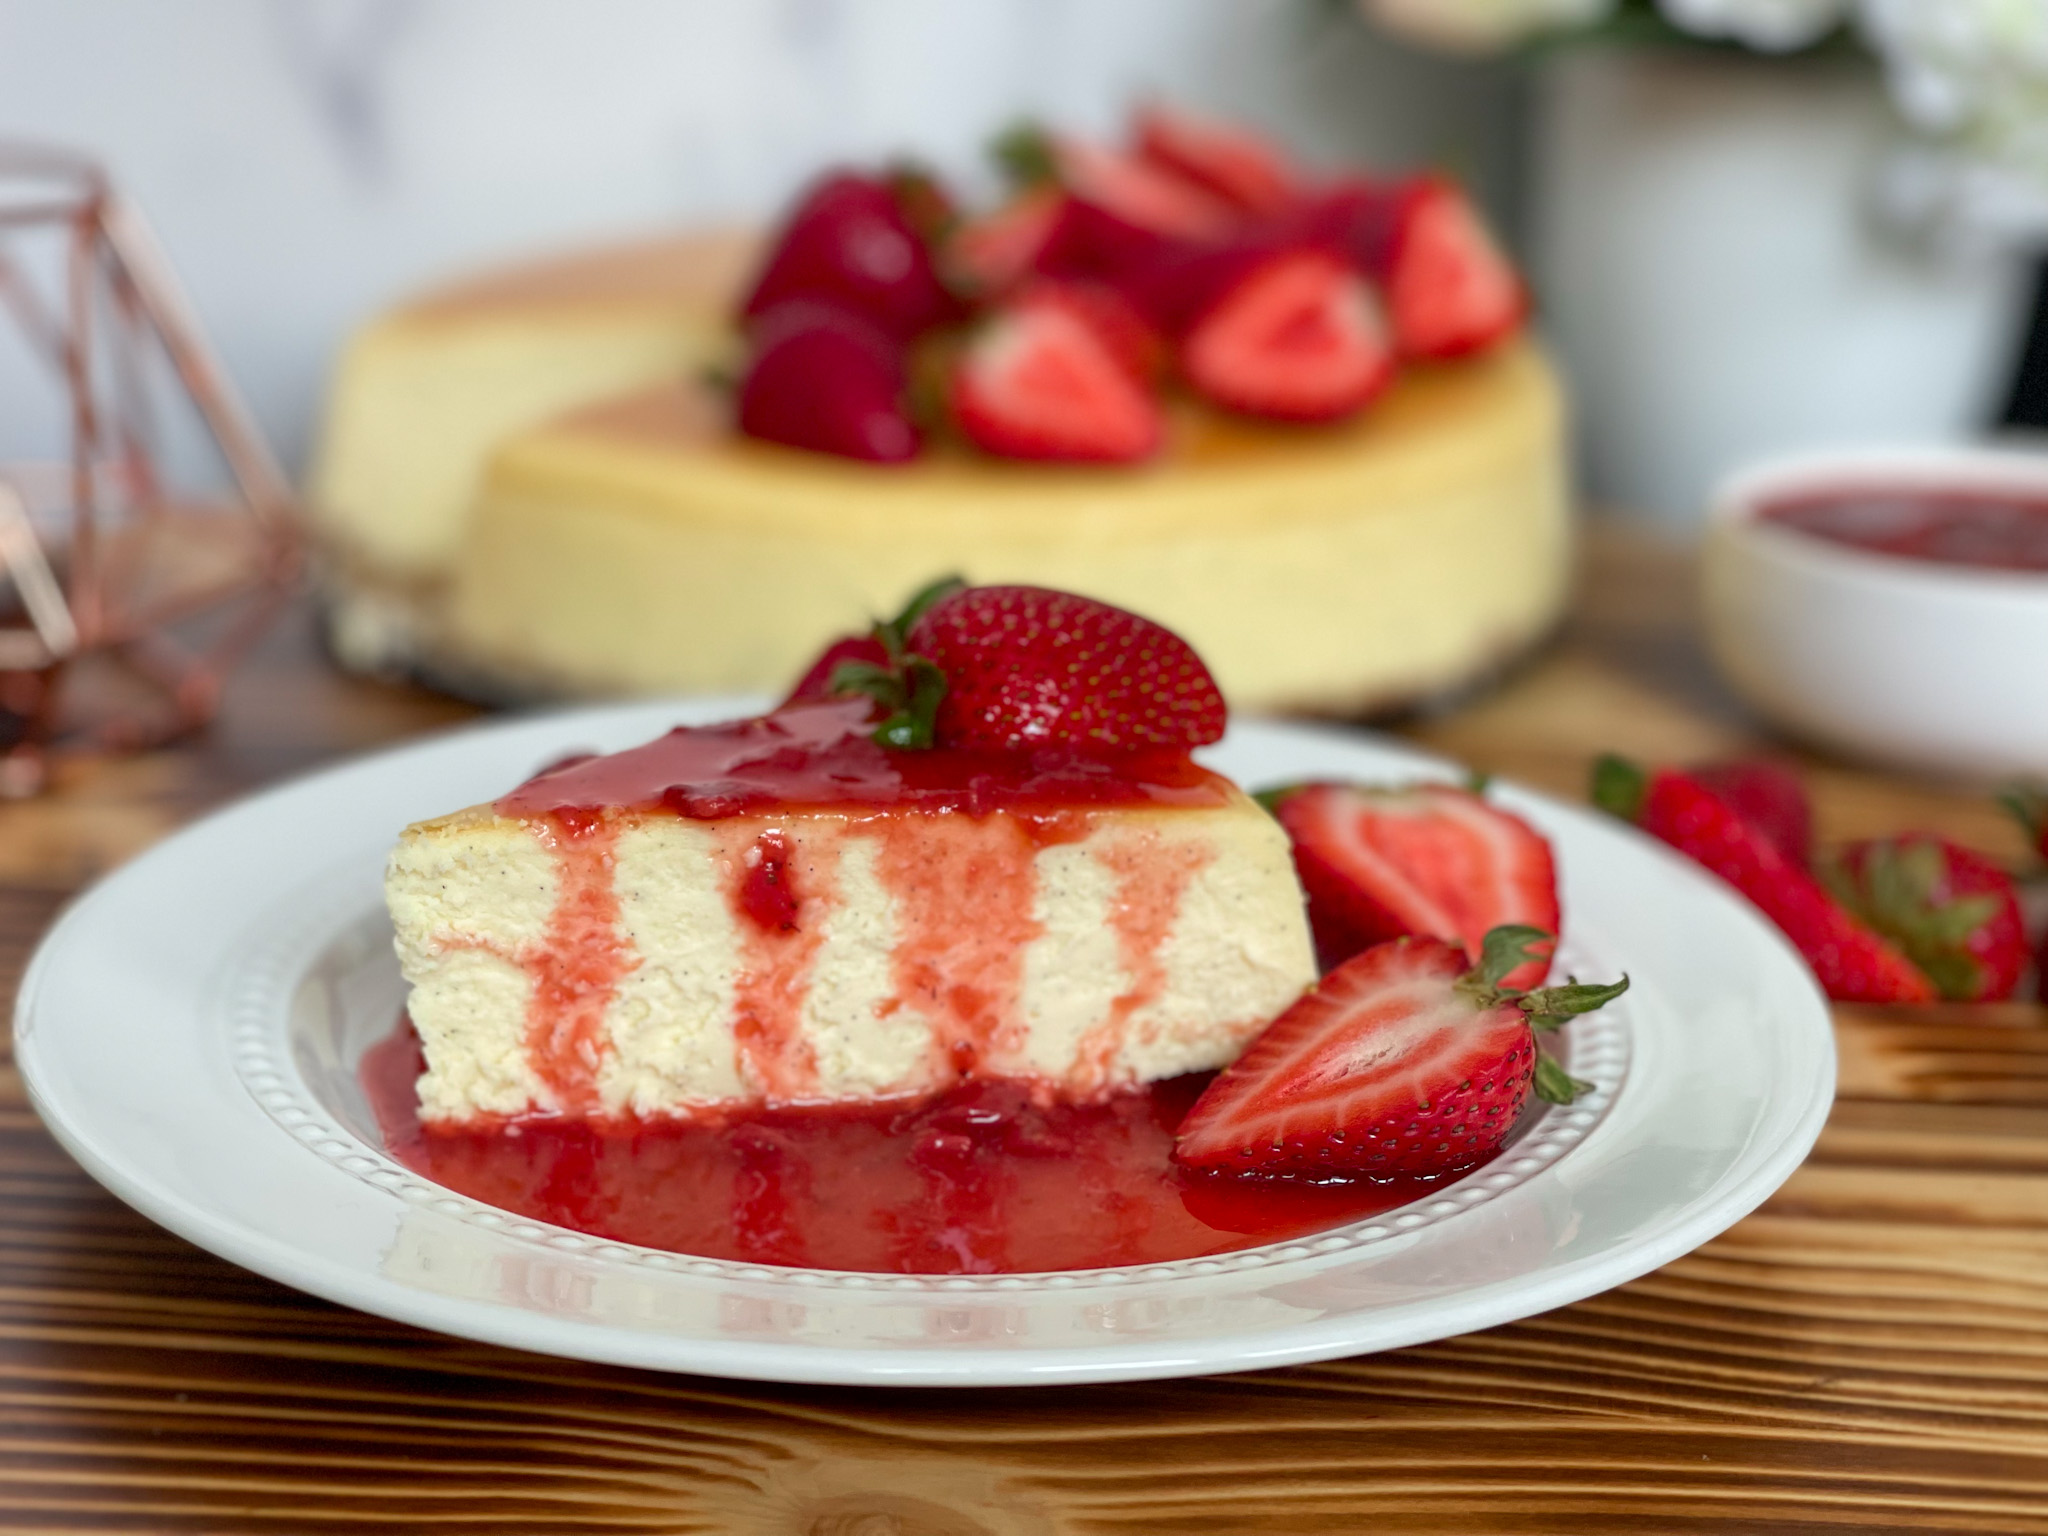
Patience. We know, it’s hard to wait but the cheesecake tastes better when it’s nice and chilled. Once your cheesecake reaches room temperature, cover it with plastic wrap and chill it overnight or at least 4 to 5 hours before serving. We are serving this cheesecake with fresh strawberries and our homemade strawberry syrup. It pairs very well with tart berries like strawberry or raspberry. We also served this Cheesecake with homemade cranberry sauce on Thanksgiving and it was a huge hit. We hope that you give this recipe a try and let us know how it turned out. Enjoy!
This post may contain affiliate links. Please read our disclosure policy.

Classic Cheesecake
Equipment
- 9 Inch Springform Pan
- Roasting Pan
- Stand Mixer (5 quarts)
- Food Processor
- Silicone Spatula
Ingredients
Cheesecake Crust
- 1-1/4 cup Graham Crackers finely crushed
- 2 tbsp Brown Sugar
- 1/4 cup Melted Unsalted Butter
- 1/8 tsp Kosher Salt
Cheesecake Filling
- 32 oz Cream Cheese
- 1/4 cup Heavy Cream
- 1/4 cup Sour Cream
- 1 cup Granulated Sugar
- 2 tbsp Cornstarch
- 4 large Eggs
- 1 large Egg Yolk
- 1 Vanilla Bean Pod
- 1/8 tsp Kosher Salt
Instructions
Preparing Crust
- Preheat your oven to 325F
- In a medium bowl, mix together finely crushed graham crackers, brown sugar, kosher salt, and melted unsalted butter.
- Pour crumbs into a 9” Springform pan and press it firmly into the bottom.
- Bake the crust for 10 minutes. Once done, remove and let cool completely.
Preparing Cheesecake Filling
- In the bowl of a stand mixer, beat together softened cream cheese with sugar, and cornstarch using the paddle attachment.
- Once it is smooth and creamy, scrape the sides and bottom of the bowl with a spatula.
- Now add vanilla bean, heavy cream, sour cream, salt, and stir until well-combined.
- With the mixer on low speed, gradually add the eggs one at a time and stir until each egg is just incorporated.
Baking Cheesecake
- Pour the cheesecake batter into the completely cooled graham cracker crust.
- Cover the springform pan with aluminum foil and place it into a deep roasting pan.
- Pour the boiling water into the roasting pan to come up to 1 inch of the springform pan.
- Transfer the roasting pan to the center rack of your oven and bake on 325F for 1 and a half hours until set but slightly jiggly.
- Once done, open the oven door and let your cheesecake sit in the water bath in the oven for 1 hour.
- Remove your cheesecake from the water bath and let it cool on a wire rack. Once it reaches room temperature, cover it with plastic wrap and chill it overnight or at least 4 to 5 hours before serving.
Did you make this recipe?
Please let us know how it turned out for you! Leave a comment below, tag us @flux_foodie on Instagram, and hashtag it #fluxfoodies.


